Mastering Your Research: A Step-by-Step Drawing Outline
Embarking on a creative journey can often feel daunting, especially when it comes to the realm of drawing and research. Whether you’re a seasoned artist or just starting out, a well-structured research outline can serve as your compass, guiding you through the intricate maze of ideas and inspiration.
Why a Research Outline Matters
Think of a research outline as the skeleton for your drawing; it provides a framework that holds everything together. Without it, your creative process might feel overwhelming, and you may find yourself lost amidst a chaotic sea of concepts. An effective outline not only clarifies what you want to draw but also enhances the quality and depth of your work.
Step 1: Define Your Focus
Begin by determining the main theme or subject of your drawing. What captivates you? Whether it’s a landscape, a portrait, or a fantastical creature, identifying your focus is essential for building your outline. This step makes the journey ahead much more manageable.
Step 2: Conduct Preliminary Research
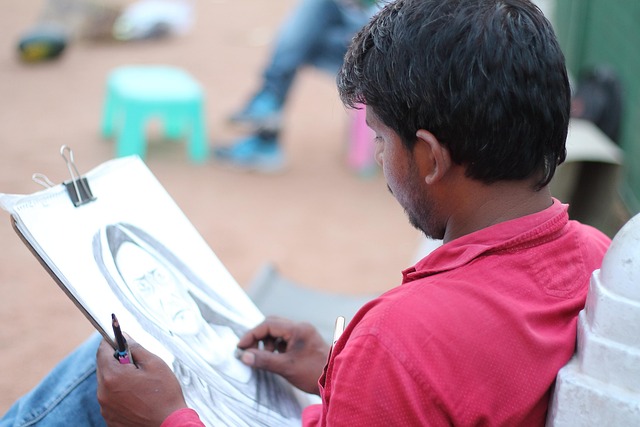
Once you have your focus, dive into some initial research. Seek out references, images, and similar artworks that inspire you. Use these resources as the foundation of your outline. Note down key elements you’d like to incorporate and ideas that spark your imagination.
Step 3: Create Your Outline
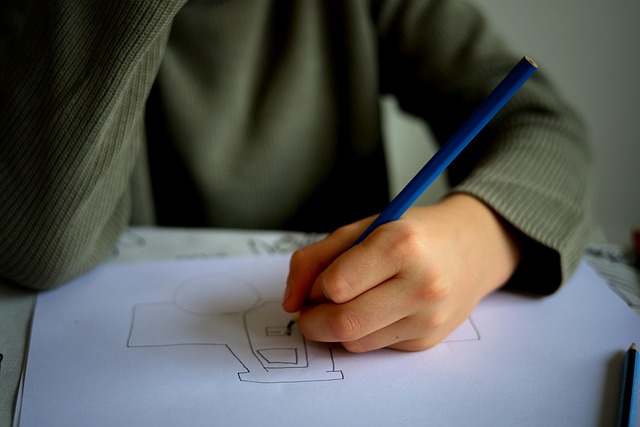
Using your research, start formulating your outline. Begin with broad categories related to your focus, then break down these categories into specific aspects. For example, if you are drawing a landscape, your categories could include sky, terrain, vegetation, and focal points. Under each of these, jot down details you wish to highlight.
Step 4: Organize Your Ideas
Once you’ve brainstormed various elements, organize them logically. This will help streamline the drawing process. For instance, you might want to arrange your outline based on priority or visual flow. Think about how each part interacts with the others and where the viewer’s eye will naturally go.
Step 5: Refine Your Outline
Take a step back and evaluate your outline. Does it effectively represent your vision? Are there areas that need more detail or clarity? Revising your outline is a crucial step that can significantly enhance the final piece. Don’t hesitate to adjust your structure until you feel confident.
Step 6: Start Drawing!
With your refined research outline in hand, it’s time to bring your vision to life. Use your outline as a guide through the drawing process, allowing you to maintain focus while still leaving room for spontaneous creativity. Remember, this is your art—embrace the journey!
Final Thoughts
A research outline not only provides structure but also inspires confidence in your artistic decisions. As you master this technique, you’ll find that your drawings become richer and more nuanced. So, grab your pencil, gather your references, and start outlining your masterpiece!