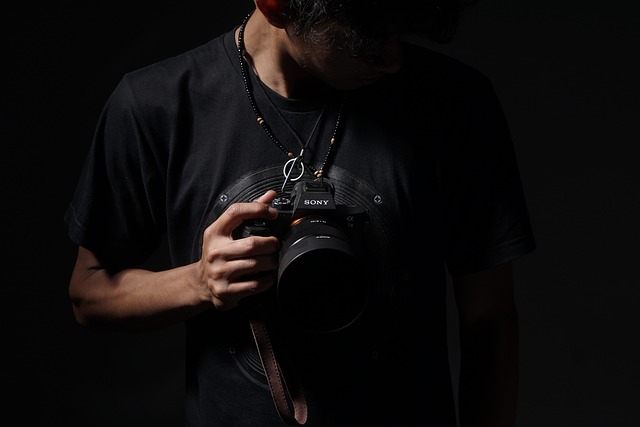
Understanding Studio Lighting
As a photographer, the magic often begins when you step into the studio. The controlled environment allows creativity to shine, but it’s the studio lighting that truly transforms your vision into a masterpiece. Whether you’re working with portraits, still life, or creative compositions, mastering the nuances of lighting can elevate your work from good to exceptional.
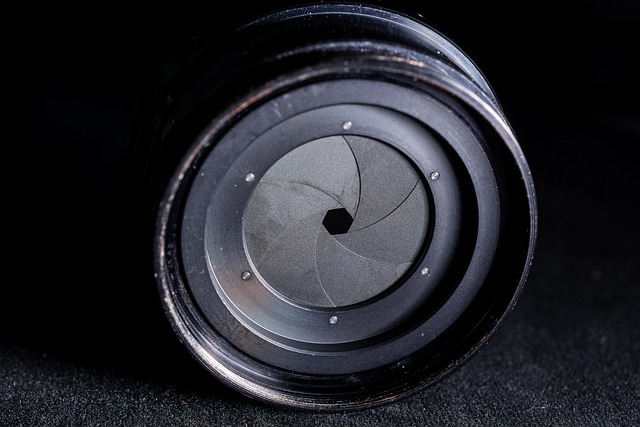
The Fundamentals of Studio Lighting
Before you dive into complex setups, it’s essential to understand the basics. Lighting is not just about brightness; it’s about how light interacts with your subject and sets the mood of the image. The three primary types of studio lights you’ll encounter are:
- Continuous Lights: These lights remain on, allowing you to see how shadows and highlights affect your subject in real-time.
- Flash Lights: These provide a brief burst of light, perfect for freezing motion and achieving high-quality images with a narrower depth of field.
- LED Lights: Known for their versatility and low heat production, LEDs are increasingly popular for studio setups, offering adjustable color temperatures and intensities.
Creating Mood and Atmosphere
The incredible thing about studio lighting is its ability to define the atmosphere of your work. Consider the following techniques to evoke different moods:
- Soft Lighting: Achieved through diffusion materials, soft light minimizes harsh shadows and creates a gentle, flattering effect. This is ideal for portrait photography.
- Hard Lighting: By using direct light without modifiers, you can create striking contrasts and dramatic shadows. This technique works wonders for high-fashion or editorial shots.
- Colored Gels: Use gels to add color to your lights, allowing for playful, dramatic, or even surreal imagery. This tool can drastically change the entire feeling of a composition.
Mastering Lighting Ratios
Understanding lighting ratios is crucial for achieving dimensionality and interest in your photographs. The relationship between the key light, fill light, and background light can tell different stories. A common method is to keep a ratio of 2:1 or 3:1 between the key and fill light, creating a natural yet dynamic feel. Experiment with various ratios to find your ideal look.
Utilizing Light Modifiers
Modifiers such as reflectors, softboxes, and umbrellas can profoundly change the quality of your light. Here’s how:
- Softbox: Creates a more diffused light source, perfect for reducing harsh shadows in portrait photography.
- Umbrella: Can bounce or diffuse light, providing flexibility in achieving the desired effect.
- Reflectors: Bounce light back onto your subject, enhancing highlights and adding depth to the image.
Experimenting with Angles
One of the most important aspects of studio lighting is positioning. The angle at which you place your lights can create various effects:
- Short Lighting: Lighting the side of the face away from the camera can add depth and dimension.
- Broad Lighting: Lighting the side of the face towards the camera creates a sense of openness and is often used for subjects that need to appear larger than life.
- Backlighting: Placing lights behind your subject can create silhouettes or rim lighting that add an artistic flair.
Putting It All Together
Mastering studio lighting is an ongoing journey. Each session offers a new opportunity to experiment with techniques, settings, and gear. Don’t be afraid to push boundaries and take creative risks—your best work often comes from stepping outside your comfort zone. With practice and perseverance, you’ll find yourself confidently crafting images that not only reflect your artistic vision but resonate with viewers on a profound level.